
After finishing our Whole30 Challenge a few months ago, we started adding potential trigger foods back in. Neither of us had much negative response except when it came to dairy. Jason doesn’t seem to do well with milk. Fortunately cheese doesn’t seem to be an issue (yay for homemade pizza!).
I can sub coconut milk for most recipes. I’ve been diluting it a little bit to make it thinner like milk, and it’s working pretty well. But what about things that are mostly milk? Like…. chocolate pudding?
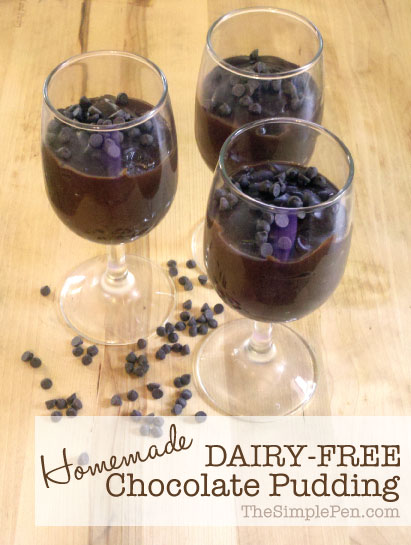
Well, I set out today to make a thick, creamy, oh-so-chocolately pudding that tasted just as good as the box mixes without using milk. And you know what? I think this one’s better than a box mix.
If you’re not a fan of coconut (I’m not!), don’t worry. I can’t taste it in this recipe. So that’s a definite win for me too.
Coconut Milk Chocolate Pudding
Ingredients:
14 oz can coconut milk, divided (I used Thai Kitchen brand.)
1/4 c. cane sugar
dash of salt
6 Tbl. cocoa powder
1/4 c. cornstarch
1/2 c. semi-sweet chocolate chips (I used the dairy-free ones from Enjoy Life.)
1 tsp. pure vanilla
Directions:
- Shake the can of coconut milk before opening it.
- In a saucepan, combine 2/3 of the can of coconut milk, sugar, and salt.
- Turn the heat to medium, and bring the mixture to a light boil.
- While that’s heating, whisk together the rest of the coconut milk, cocoa powder, and cornstarch.
- Once the mixture in the saucepan is lightly boiling, turn the burner down to low.
- Add the chocolate mixture to the pan a little at a time. Whisk to combine it and prevent lumps.
- Constantly whisk the mixture for about 1 minute until it thickens.
- Remove from heat.
- Add chocolate chips & vanilla.
- Whisk for another minute until the chips are melted and everything is smooth.
- Pour into a bowl or serving dishes/glasses.
- Eat warm or place in the refrigerator for 3 hours or until chilled.
We sprinkled more mini chips on top before we ate it.
I’m sharing this at:
I’m sharing this post at:
:: Tasty Tuesday hosted by Balancing Beauty & Bedlam
:: Works for Me Wednesday hosted by We Are THAT Family
:: Chic & Crafty hosted by The Frugal Girls


Wow, looks delish! Pinning. 🙂
Thanks, Jeni! I don’t think you’ll be disappointed. 😉